Securing your shelter in the zombie-infested world of Project Zomboid requires more than just finding a suitable location. Keeping the undead hordes at bay demands proactive defense, and barricading windows is a crucial first step. This guide explains how to effectively board up your windows and enhance your base's security.
How to Barricade Windows in Project Zomboid
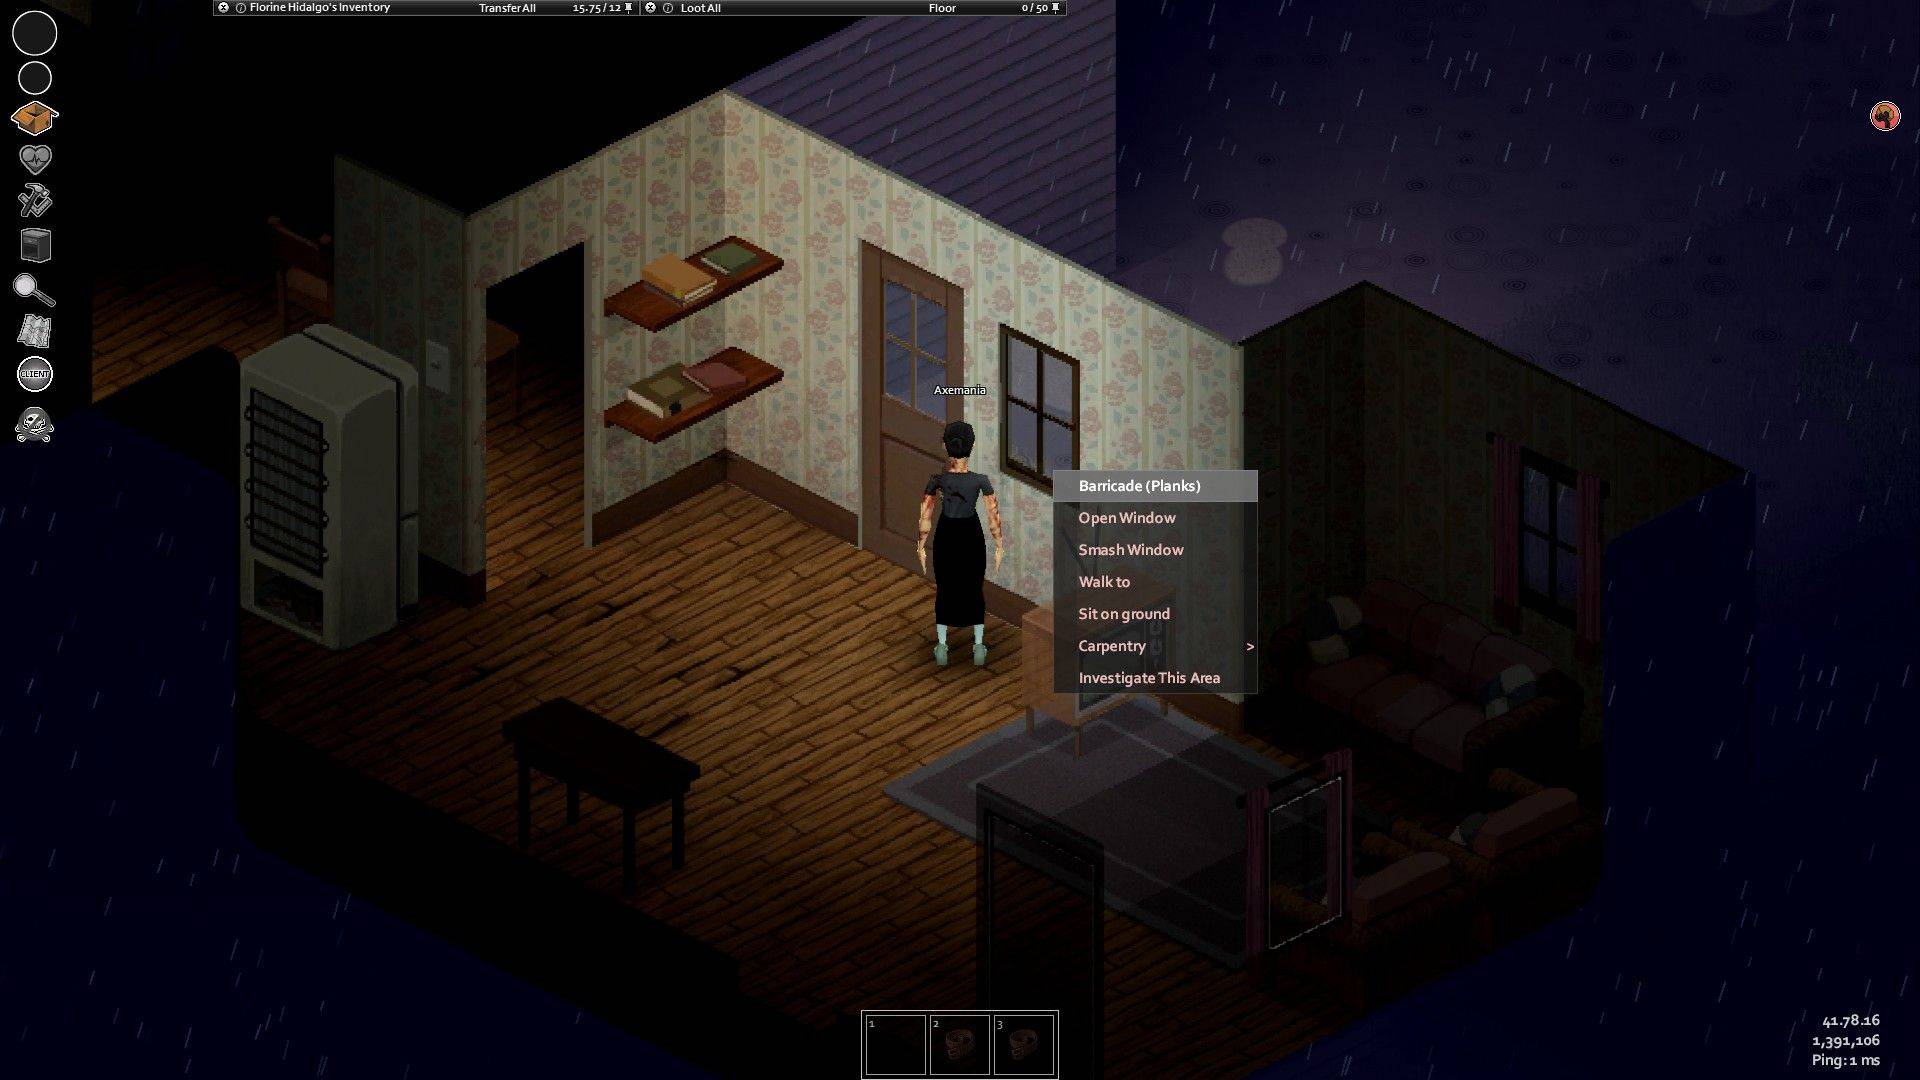 To barricade a window, you'll need a wooden plank, a hammer, and four nails. Once you've gathered these essential supplies, simply right-click the target window. Your character will automatically begin securing the plank, reinforcing the window frame. Each window supports up to four planks for maximum protection.
Finding the necessary materials is key. Hammers and nails are commonly found in toolboxes, garages, sheds, and closets – typical locations for storing hardware. Wooden planks are frequently located at construction sites, or, in a pinch, can be salvaged by dismantling wooden furniture such as shelves and chairs. Administrators can utilize the "/additem" command to spawn items as needed.
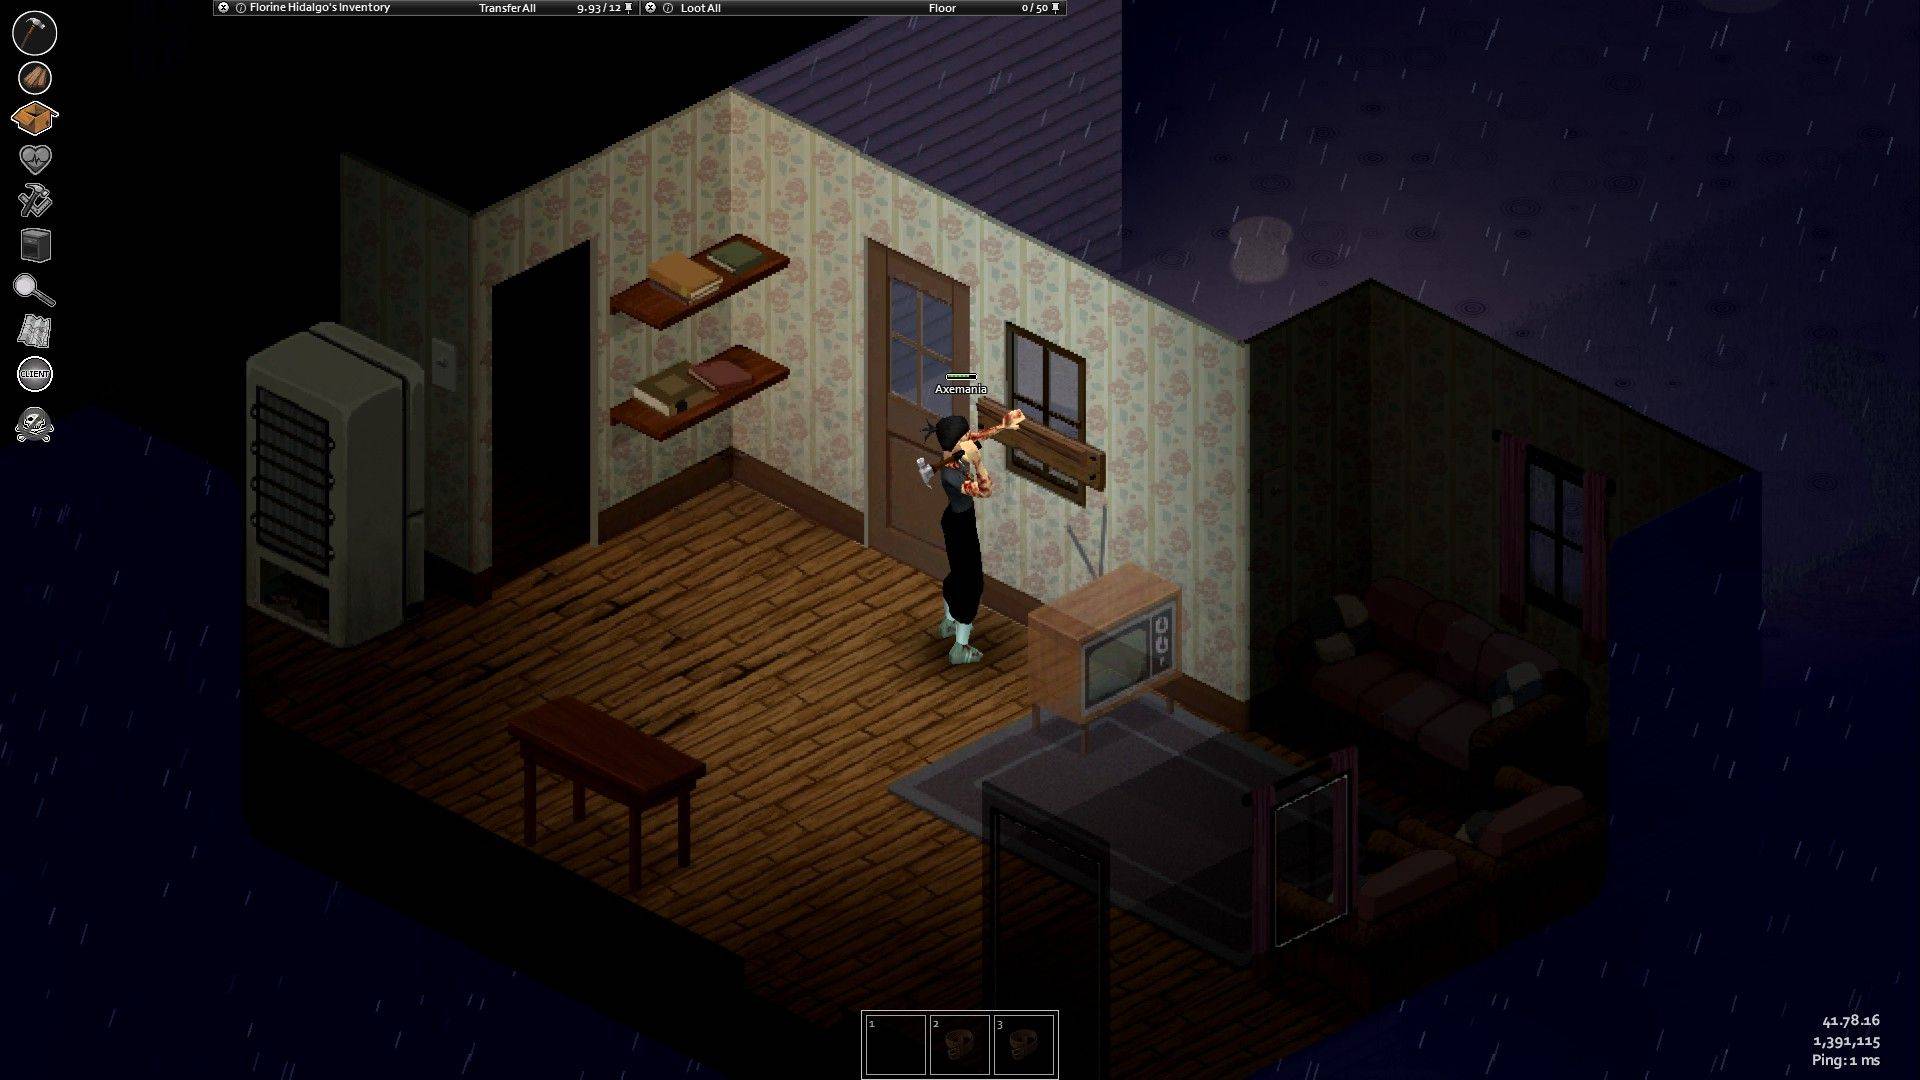 Barricaded windows offer significantly improved protection against zombie attacks compared to unprotected windows. The more planks you add, the longer it takes for zombies to breach the defense. To remove planks, right-click the boards and select "Remove." Note that you'll need a claw hammer or crowbar to do so.
Larger furniture items, such as bookshelves or refrigerators, are unfortunately ineffective as window barriers. Both zombies and players will pass right through them. While these items are useless for defense, knowing how to move furniture is still a useful skill for interior design purposes.
For even stronger barricades, consider using metal bars or sheets. However, this requires sufficient Metalworking skill.